Key takeaways:
Asynchronous video is an effective way to communicate
Socialive’s Recording Booth makes camera and screen recording easy
Briefings can be taken offline instead of in meetings or emails
Who else has ever had leadership cancel a meeting on them just minutes ahead of time? It happens. Now comes the scramble to look through calendars and find a 30-minute block to squeeze in with your executive team. Good luck.
Or you can borrow from our learning and development team’s idea and use Socialive to record, edit, and publish the presentation. Executives can review on their time, and you don’t have to reschedule and prepare again. That’s the beauty of asynchronous video!
Record your presentation in Recording Booth
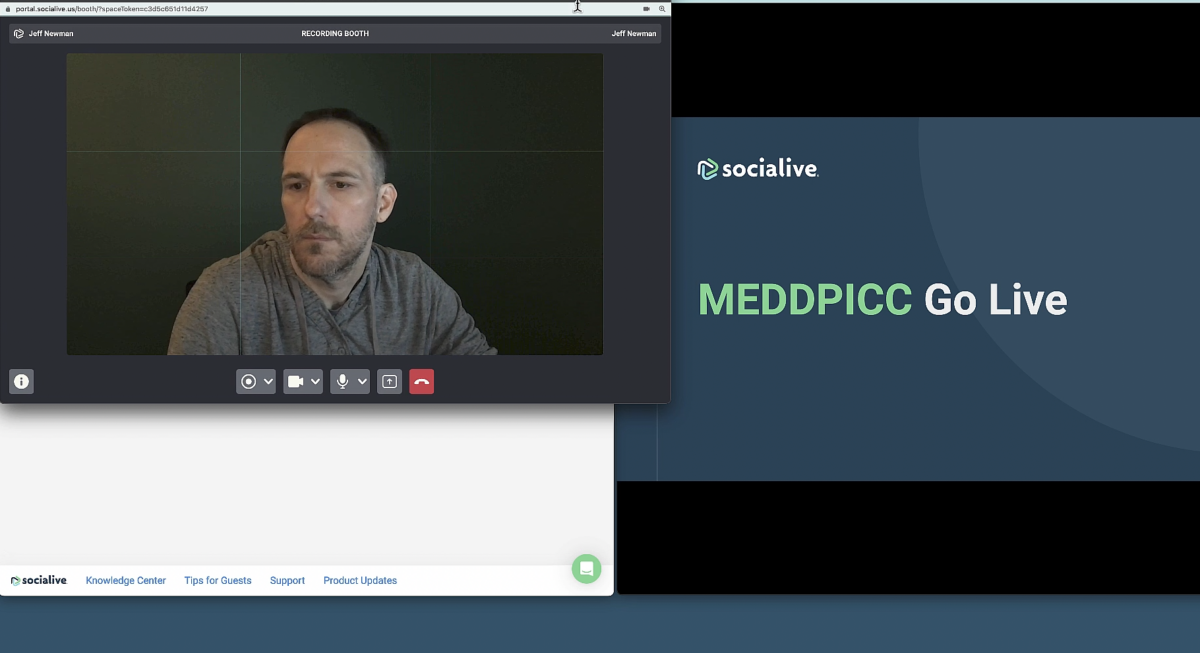
From the moment the meeting was canceled, you start creating a video walkthrough of your presentation. In Socialive, go straight to Recording Booth to create the asynchronous video.
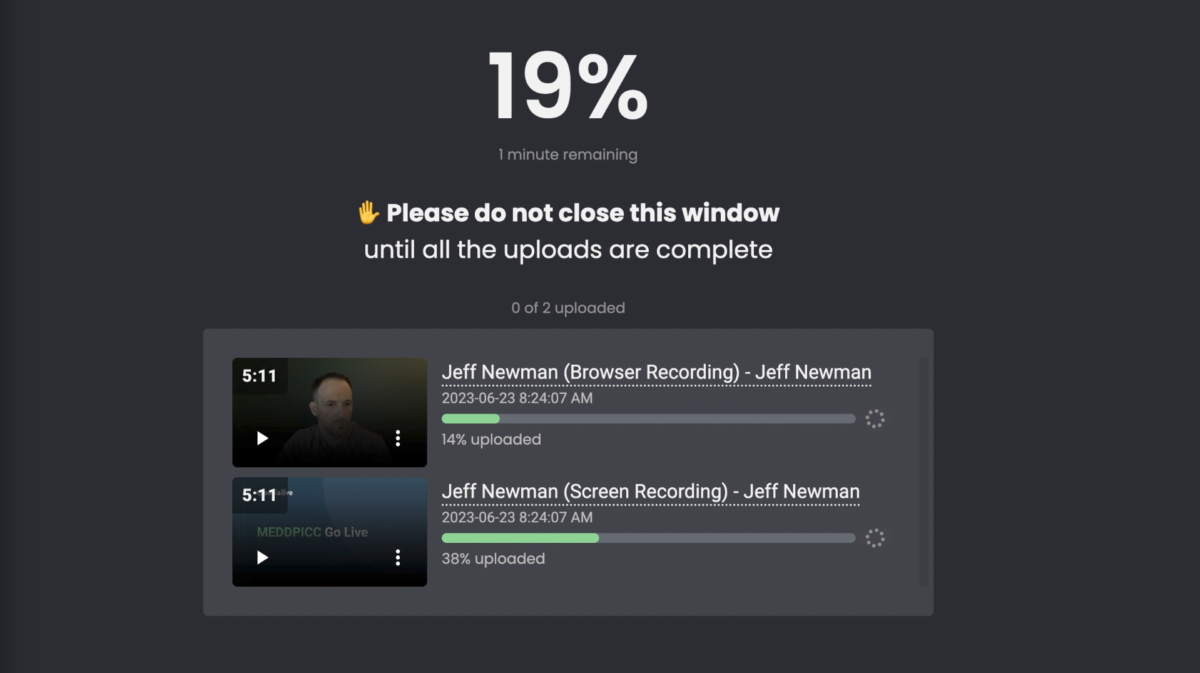
It’s easy to self-record, and you can capture both your video and your screen. The output will be two videos — your video with audio and then your screen recording.
Create Recording Booth session
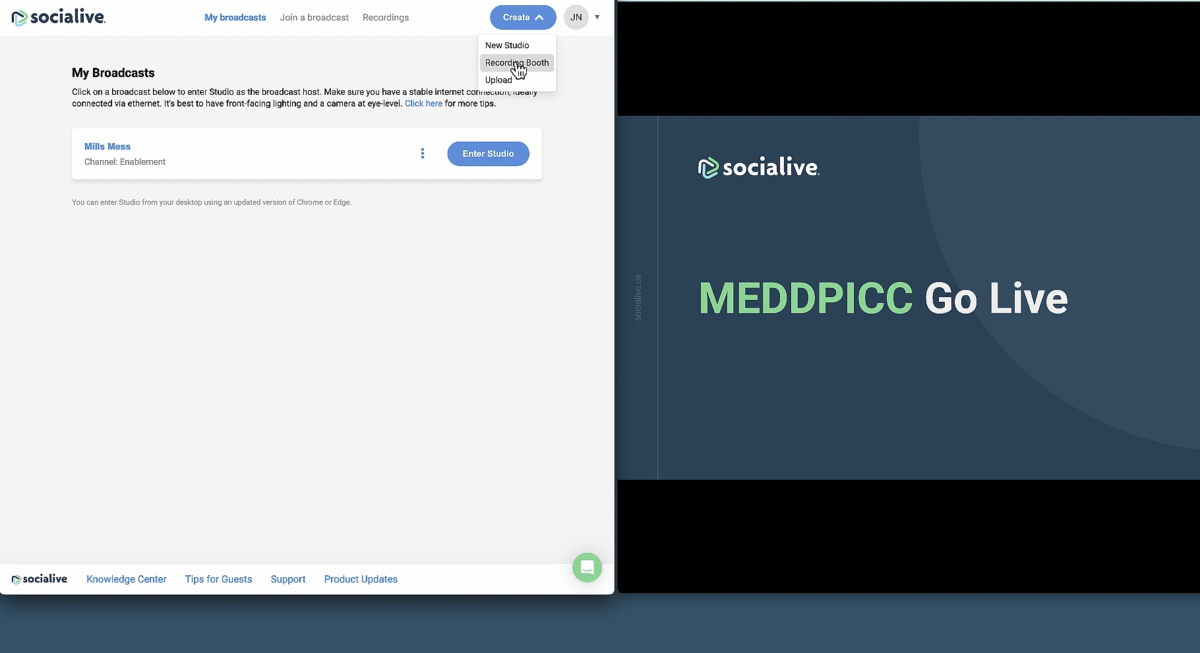
First things first, log into Socialive and choose to “create” a new Recording Booth session.
Go ahead and choose the channel you want the recording to live in. Pay attention to the channel you choose, you’ll need to remember it for later.
Pull up the deck to present
Make sure you have the deck available to share.
Whether you choose to share from PowerPoint or Google Slides, it doesn’t matter. Just make sure it’s cued up to share full screen, and we’ll come back to it later.
Deliver your take in Recording Booth
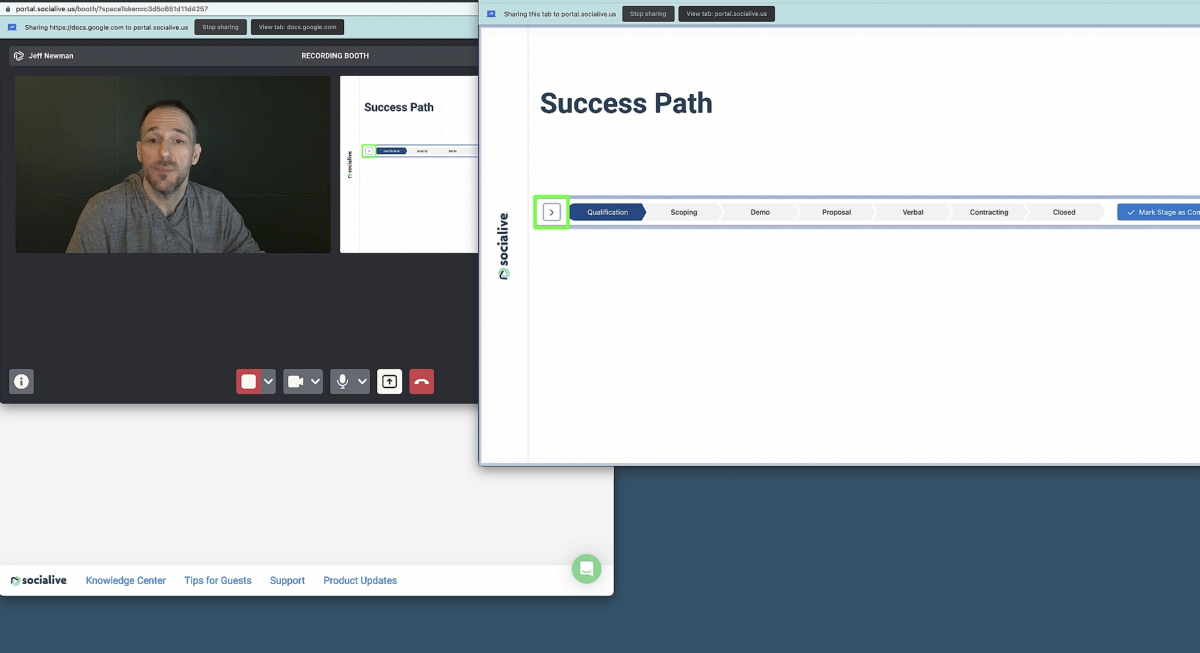
You’ll see five buttons at the bottom of your screen. The furthest to the left is to record yourself and just to the left of the “end session” button is to share screen. Share your screen, make sure you’re happy with the camera and audio devices selected and hit record!
Don’t worry about any timing discrepancies, everything in Recording Booth is automatically synced. Just make sure you have the right screen selected and focus on nailing the take. Once you’re finished, hit the record button again to stop recording and the files will be instantly uploaded to the library.
Make start/end card
Next, make a start and an end card — bumpers — for the video.
Nothing too complicated, you can the title slide from the deck you already prepared and a “thank you” slide to cap things. So all you have to do is export each slide as static images.
Set up Socialive Studio session
Once you have your recording, it’s time to edit it all together. Create a Studio session in the same channel you used for your Recording Booth session.
Send clips from recording to Studio
Next, let’s put it all together for the final video. From the Recordings Library, clip out the section of the recordings you plan to use. Be sure to trim out awkward pauses at the beginning and end of each.
Send the clips to Studio, and they’re ready to edit!
Edit the recordings in Studio
Great! Now that everything has been recorded, it’s time to edit. Don’t worry if you don’t know your way around video editors, this is actually the easiest part!
Choose layouts and set up template
After you enter Studio, you’ll need to choose your scenes. A couple of simple ones are the Two Left layout where the speaker’s video is large for scene one, and the Two Circle PIP for the second, where the speaker is pinned to the top over the screen recording of the presentation.
Enable name tags
Be sure to turn on name tags next. In case you don’t regularly meet with the recipient or if the recording might be distributed to a larger audience, it’s good to have your ID pop up as lower-thirds. You’ll just need to click on the recording of your video to type in your name and title.
The great thing is that once everything is set up you — or anyone who has access to your Studio — can access this session as a template to record another similar video in the future!
Import assets into Studio
Maybe at one point in the presentation you’d like a video to play or want music layered underneath your voice — any other media you might need can be uploaded into Socialive. If you need some ideas we have starter kits available with plenty of downloadable assets.
Be sure to import the start and end card into Studio by uploading that media, as well as any other assets you’d like to use.
Drag and drop media into the layout and create the final video
Now that your run of show is complete, set your output to “record only,” start the recording, and your final video is packaged and ready to go!
Instantly publish the video
Now that you’re done recording and editing, the video uploads to the Recordings Library automatically.
Download the video and send
It will take a minute or two before the recording is available. Once it’s ready, all you need to do is download the recording as an MP4 and send it on its way!
Using our Slack integration
A quicker way to get the video out is using one of our integrations. We have tons to choose from, such as Google Drive, Workplace from Meta, and of course, our Slack integration.
Asynchronous video communication made easy
And that’s it!
Of course, you may still have to answer a few follow-up questions, but the leadership team is now prepped and ready to go, and it certainly beat a long email!
Socialive is great for these types of quick interactions with leadership. For more tips on how to strategically use asynchronous video like this — especially for anyone in the corporate communications world — we recommend taking a look at our checklist on how to add video to your corporate comms strategy. It has plenty of tricks that might give you some ideas for more crafty uses for video!

